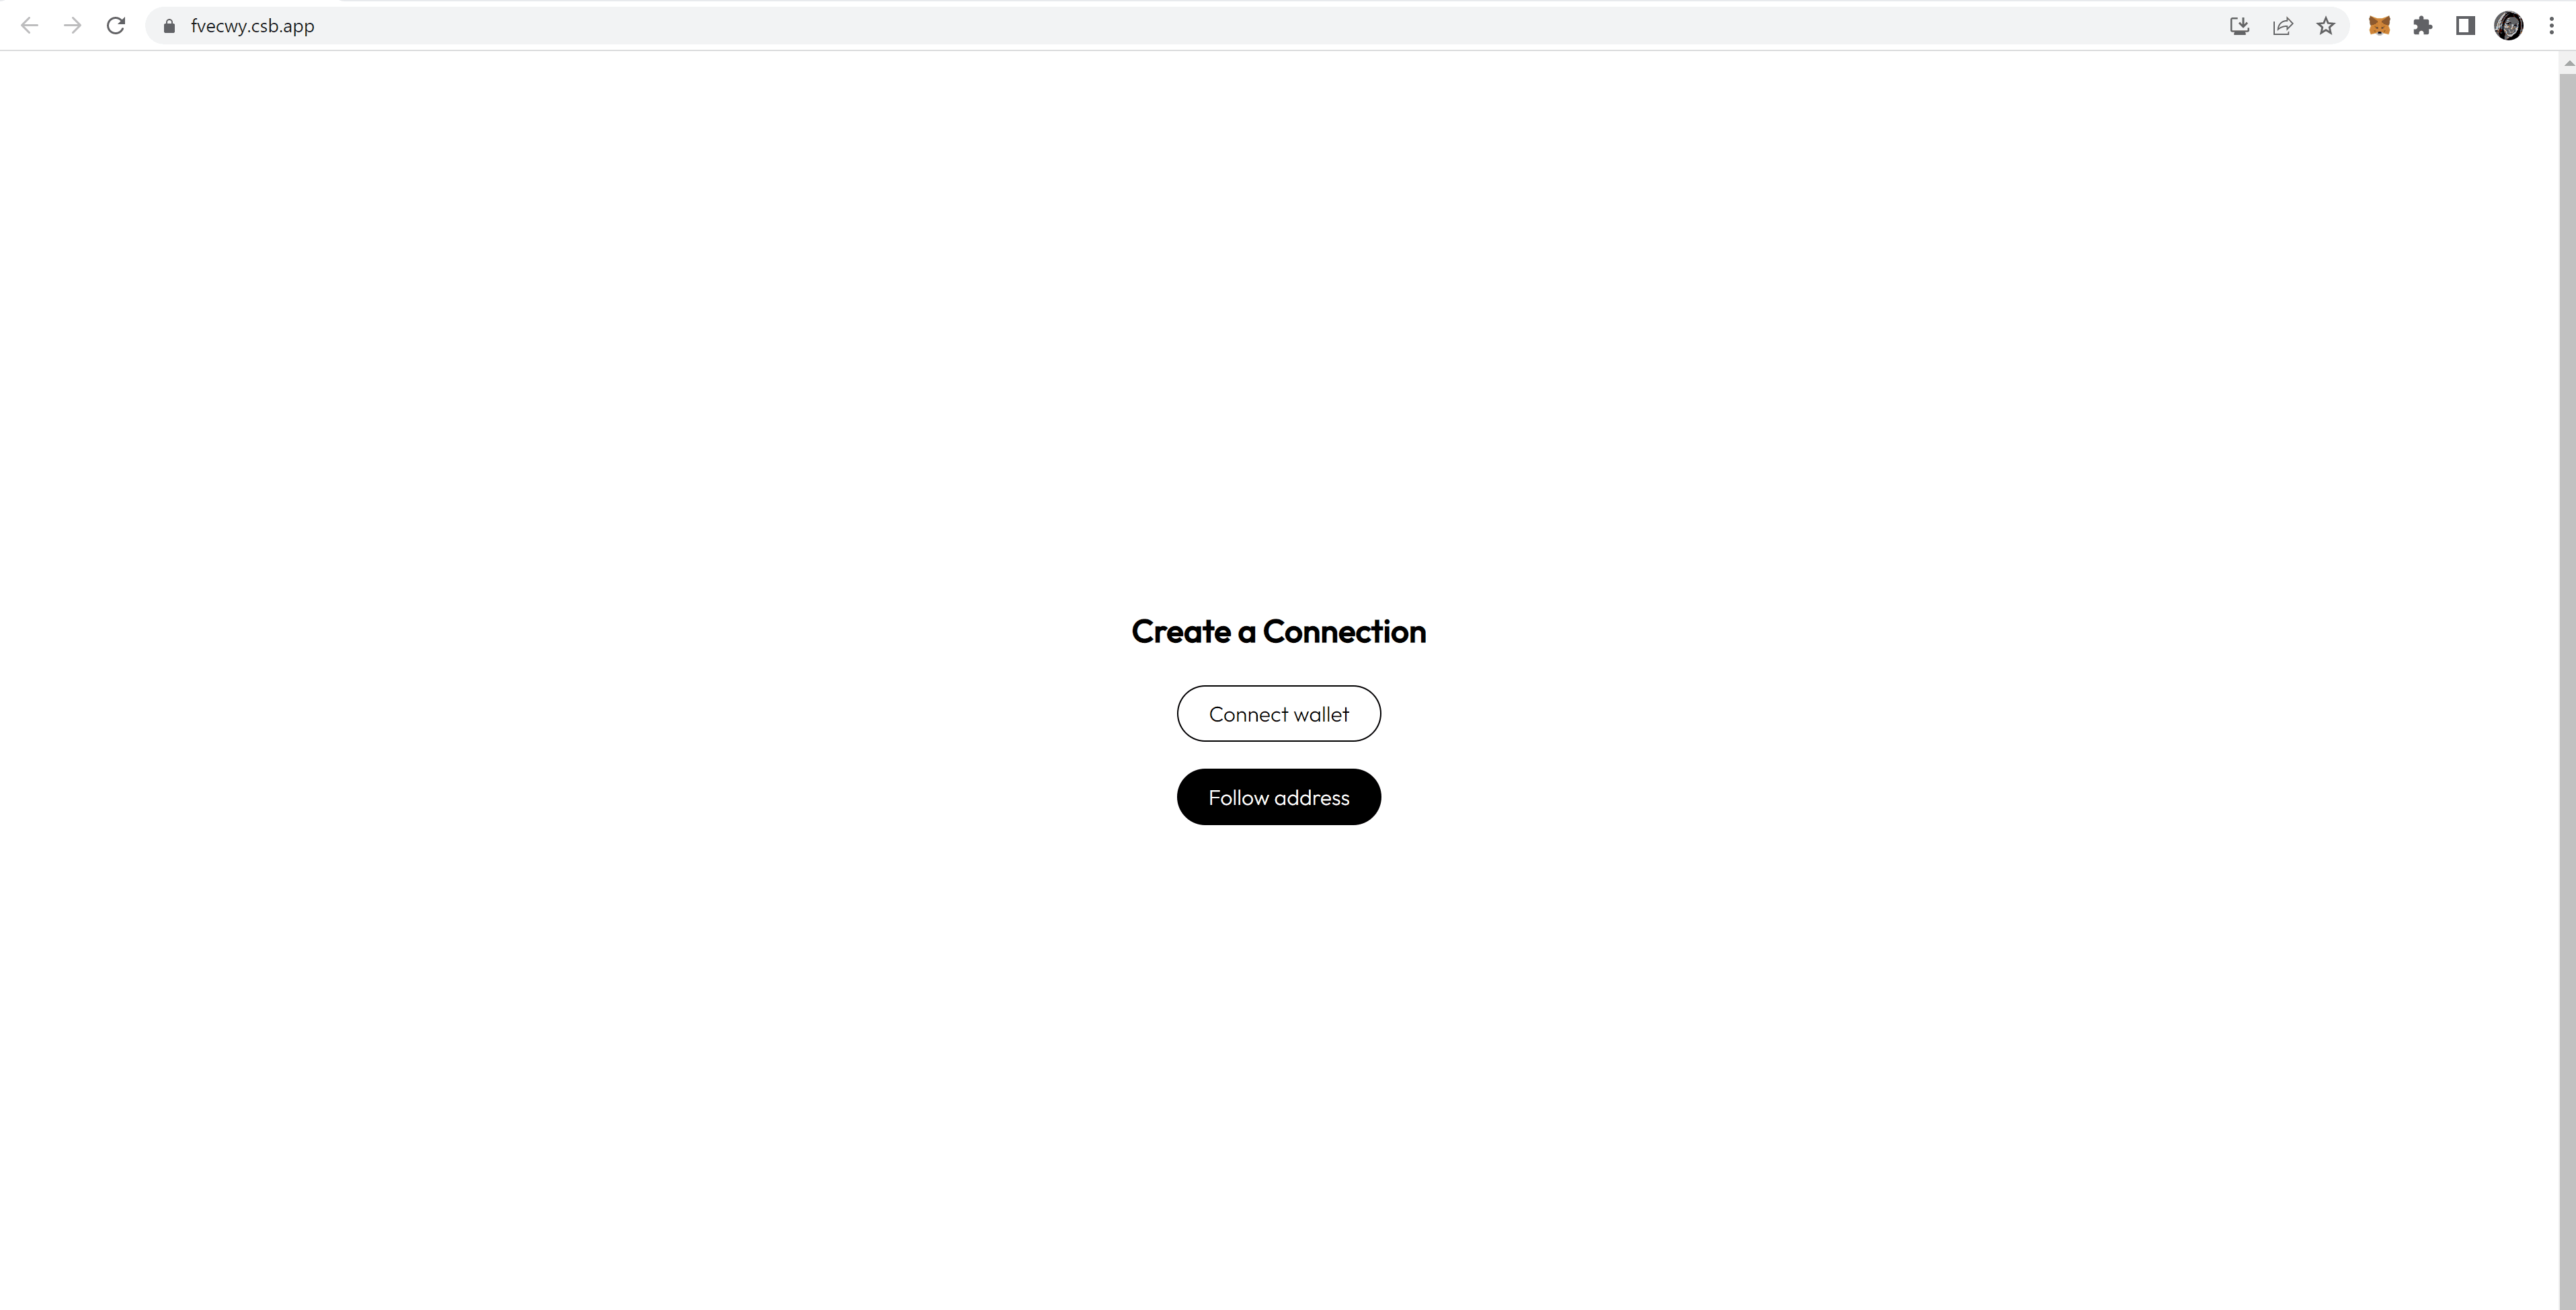
Create a Connection
tip
Install the CyberConnect JS SDK before starting this section.
Connect with User Wallet
Before helping users connect with each other, you need to make sure that their crypto wallets are connected to your application. Here, we'll use the MetaMask wallet as an example.
- Implement function
isMetaMaskInstalledto verify that user has installed MetaMask:
// Check function if MetaMask is installed
const isMetaMaskInstalled = () => {
  const { ethereum } = window;
  return Boolean(ethereum && ethereum.isMetaMask);
};
- In this tutorial, we'll help you implement a simple
buttonthat user can click on and connect their wallet. After clicking, the functionhandleOnClickin the componentconnectButtonsends a request to MetaMask and, if successful, alerts the user's corresponding wallet address:
const handleOnClick = async () => {
  if (isMetaMaskInstalled()) {
    // Request to connect to MetaMask
    try {
      const accounts = await window.ethereum.request({
        method: "eth_requestAccounts",
      });
      alert(`Connected with: ${accounts[0]}`);
    } catch (error) {
      console.error(error.message);
    }
  } else {
    alert("Please install MetaMask.");
  }
};
- Finish up our code by assigning the function
handleOnClickto the handleronClickon thebutton:
<button className="connectButton" onClick={handleOnClick}>
  Connect wallet
</button>
Your connectButton component is completed! Now, users can connect to your application using MetaMask.
Create a follow button
After connecting with MetaMask, you'll be able to help users connect with each other.

- To start, import
CyberConnect,Env, andBlockchaininto your application from the CyberConnect SDK:
import CyberConnect, { Env, Blockchain } from "@cyberlab/cyberconnect";
- Before creating a connection, you'll need to instantiate a
CyberConnectobject and initialize variablesnamespace,env,chainandprovider:
const cyberConnect = new CyberConnect({
  namespace: "CyberConnect",
  env: Env.PRODUCTION,
  chain: Blockchain.ETH,
  provider: window.ethereum,
});
- In this tutorial, we'll help you implement a simple button that user can click on and follow another user. After clicking, the function
handleOnClickin the componentfollowButtonsends a request to MetaMask and, if successful, alerts the user's corresponding wallet address.
const handleOnClick = async () => {
  // Prompt to enter the address
  const address = prompt("Enter the ens/address to follow:");

  try {
    await cyberConnect.connect(address);
    alert(`Success: you're following ${address}!`);
  } catch (error) {
    console.error(error.message);
  }
};
- Finish up our code by assigning the function
handleOnClickto the handleronClickon thebutton:
<button className="followButton" onClick={handleOnClick}>
  Follow address
</button>
Your followButton component is completed! Now, your users can connect with each other on the Ethereum network. For more advanced features, learn more about the CyberConnect JS SDK.
Sandbox
Check out the entire code from the tutorial and play around with it in the sandbox below!
Congrats 🎉 You're ready to move on to the next step: implementing the CyberConnect Social Verifier.